Deploying Reset Moves with Jamf
Reset Moves can be deployed to student iPads using Jamf School or Jamf Pro.
Please note that Reset Moves is a freemium, subscription-based app and as such, is not eligible for Apple’s Volume Purchase Program. To get all the features the app offers, as well as to automatically deploy to large numbers of devices via the auto-enrolment system, you will need a license. Please contact us in order to find the purchase tier that suits your school’s needs.
Pre-requisites
- Access to Jamf Pro or Jamf School as an Admin
- Permission to Add/Create and Scope Mobile App
- Access to Apple School Manager or Apple Business Manager
- An Active Subscription and access to the Reset Moves Dashboard
- Minimum Device Requirements
- iPhone – Requires iOS 14.0 or later.
- iPad – Requires iPadOS 14.0 or later.
Purchasing Reset Moves
From Apple School Manager or Apple Business Manager, search for Reset Moves and ‘purchase’ (there is no fee for installation) the number of copies appropriate for your Active Subscription license.
Finding Your School’s Auto-Enrolment Code
You will need this key later when setting up the App’s configuration in Jamf School or Jamf Pro
- Login to the Reset Moves Dashboard
- From the main menu, navigate to “Jamf Integration Details”
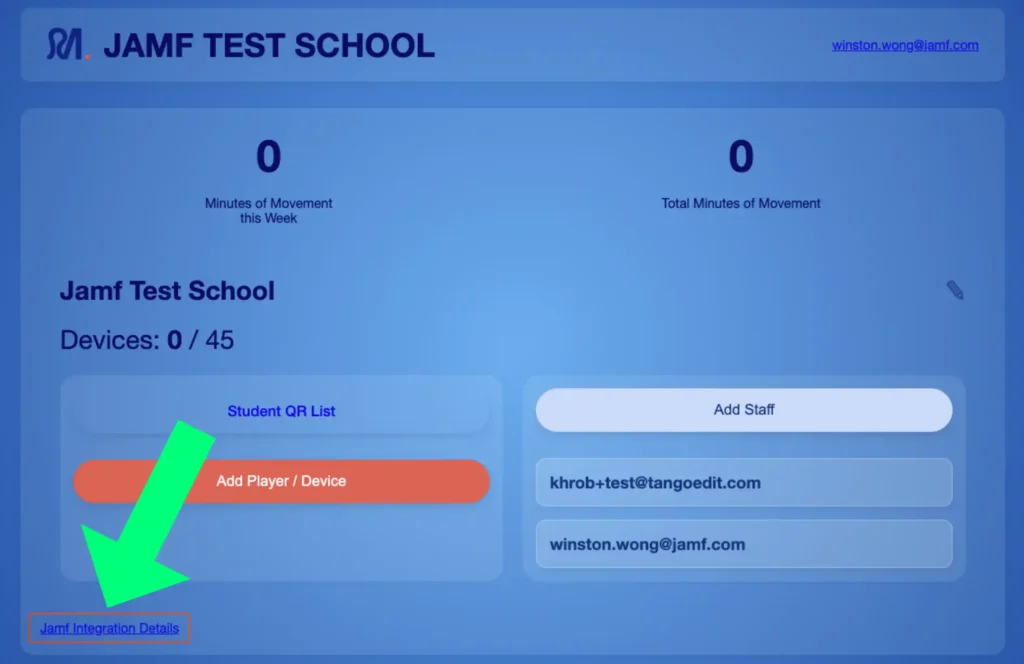
- Select ‘Copy to Clipboard’

Deploying via Jamf School
- Log in to Jamf School.
- From the left navigation expand Apps
- Go to Inventory → Sync with Apple School Manager.
- Once the sync is complete, any app that has been procured through VPP (Volume Purchase Program) will automatically appear in the apps list, along with its license details and total license count.

- Edit the “Reset Moves” App
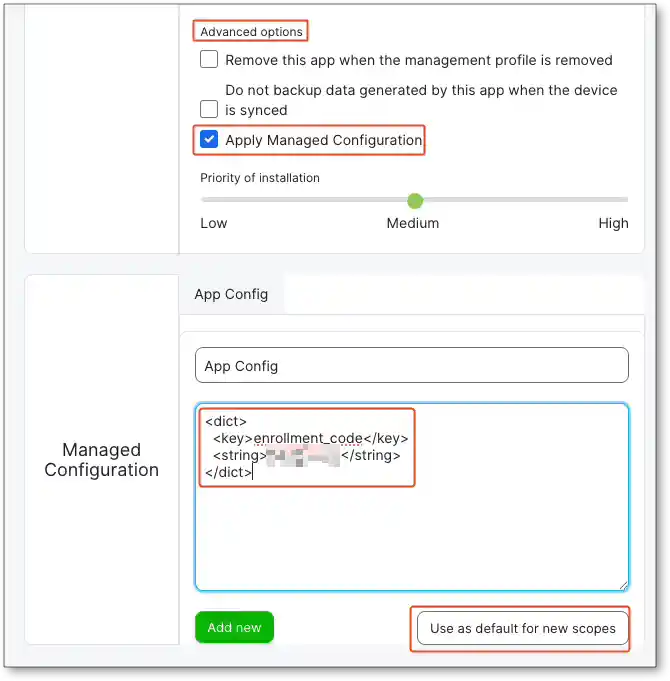
- From the Options Pane select “Show advanced options” → Apply Managed Configuration
- Paste the Managed App Config as copied from the Reset Move Dashboard and select “Use as default for new scopes”
- In the Scoping section, use the drop-down menu to select the Device Group where the app will be deployed.
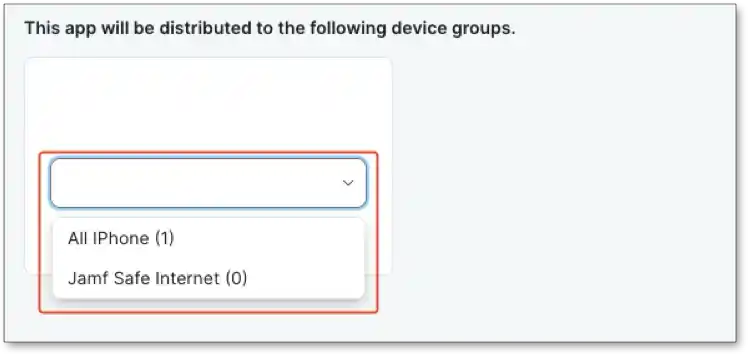
- Click Save.
Deploying via Jamf Pro
- Log in to Jamf Pro.
- From the left navigation select Devices
- Click Mobile Apps -> +New
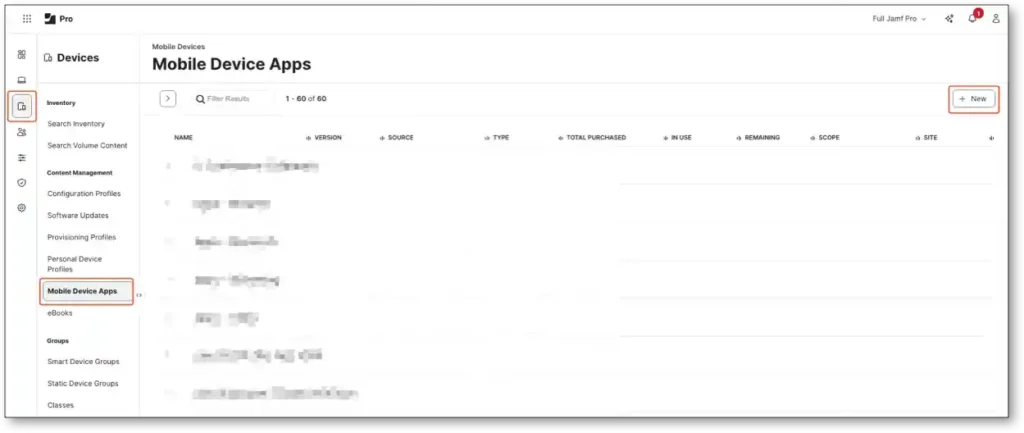
- Search and Add the “Reset Moves” App

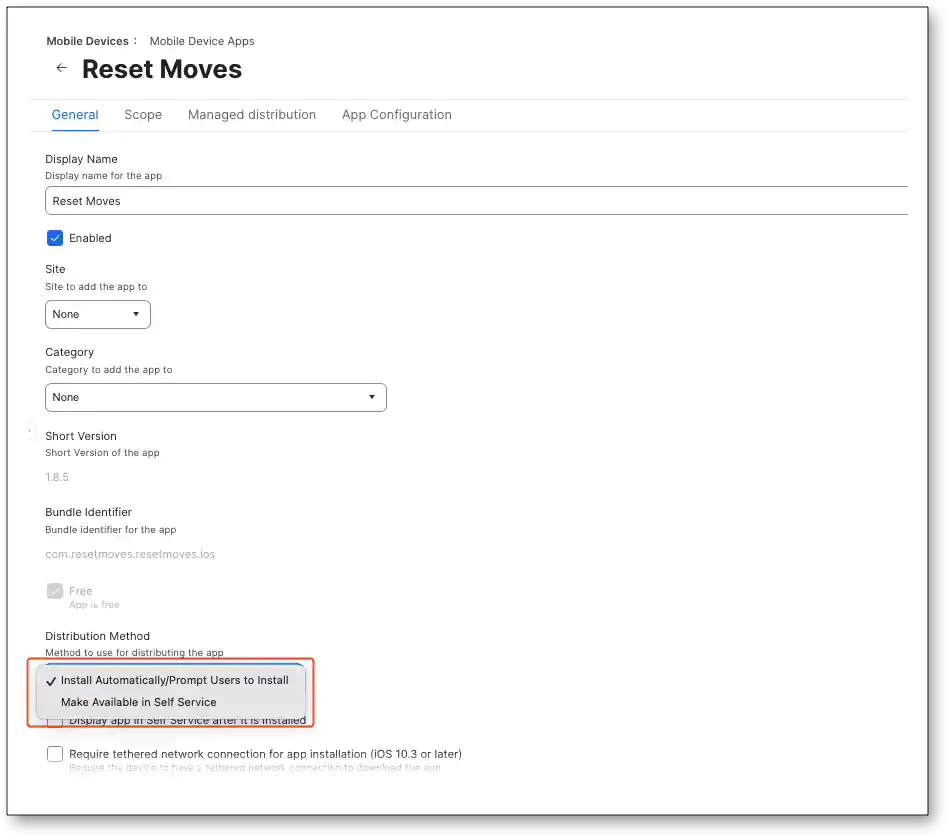
- From the General Pane you can configure the Distribution Method:
-
- Make Available in Self Service
- Install Automatically/Prompt Users to Install
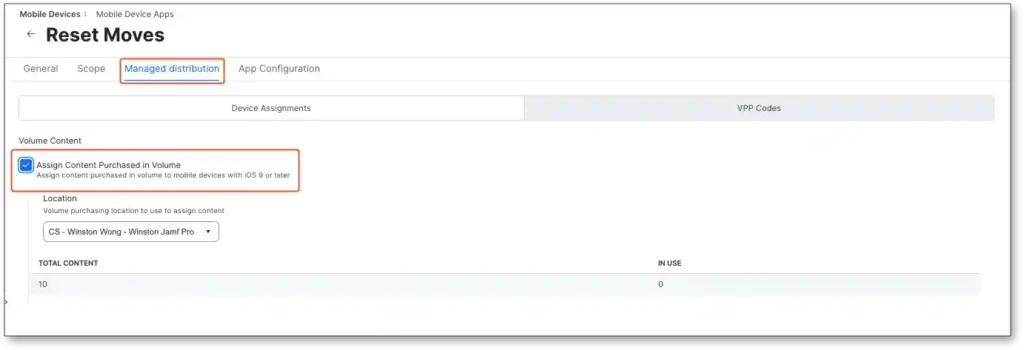
- Select Managed Distribution and then tick the checkbox for “Assign Content Purchased in Volume”
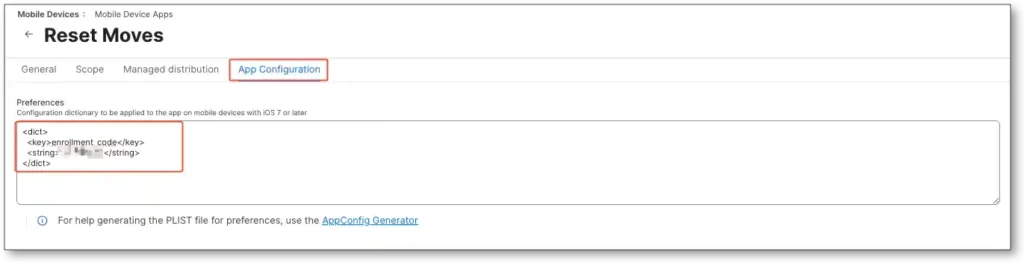
- Paste the Managed App Config as copied from the Reset Move Dashboard
- Click the Scope tab, and then configure the scope for the App
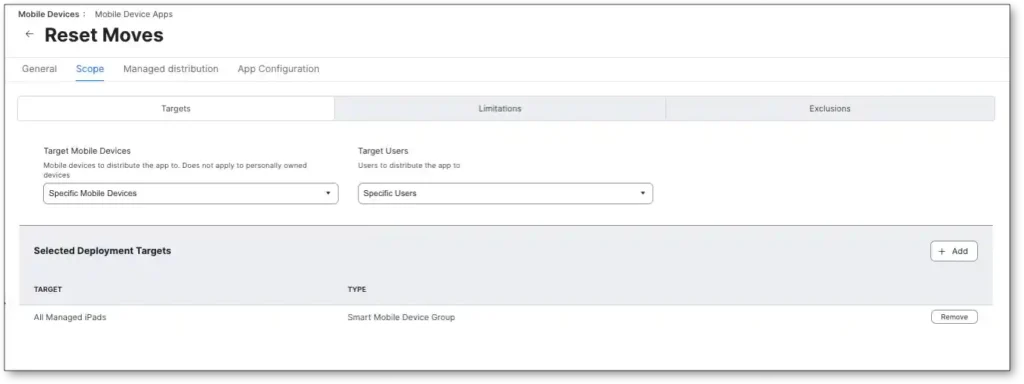
- Click Save.
Testing
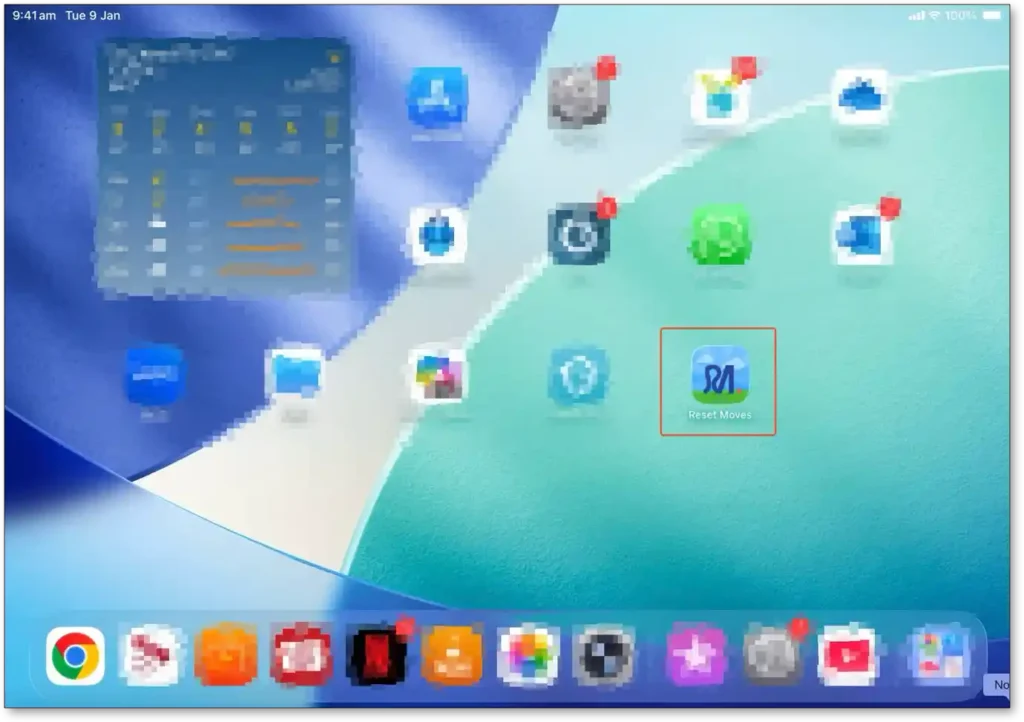
If Reset Moves is successfully installed you will see it appear in the HomeScreen on the iOS Device
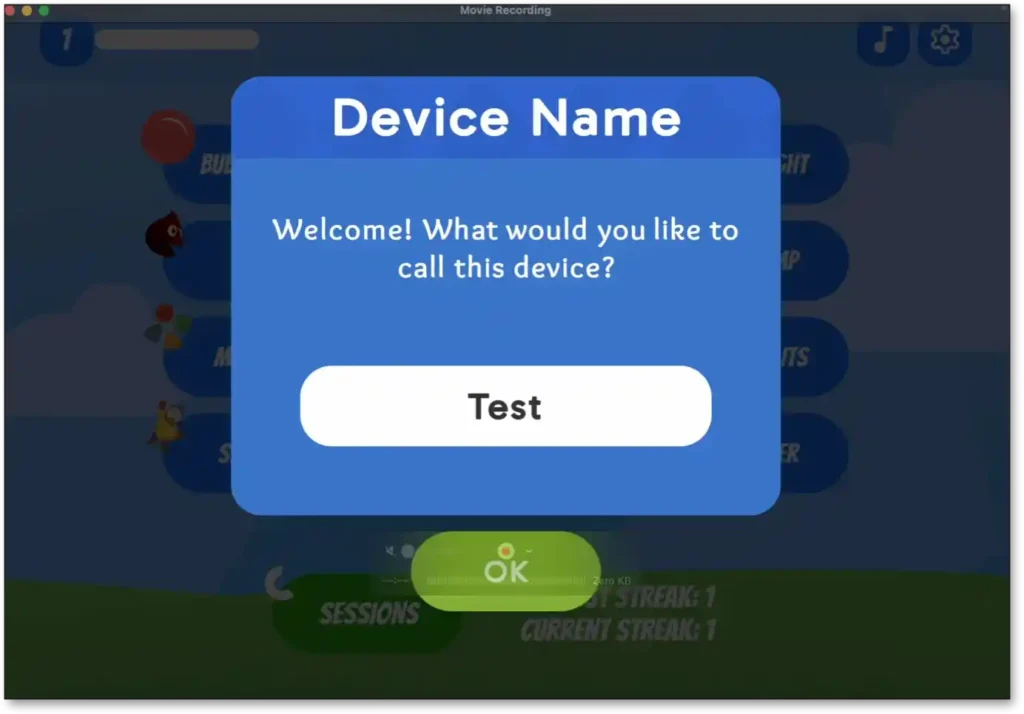
When the app is launched for the first time, the user will be prompted to enter a name for the device.
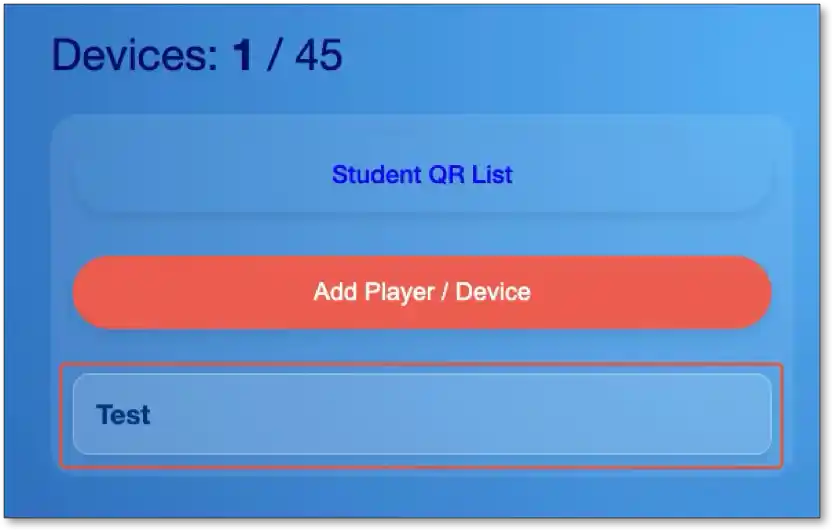
The device with the same name will then appear in the Reset Move Dashboard
Logging in with your School License via QR Code
If you aren’t installing Reset Moves to too many devices, you can enrol them one-by-one using a QR code.
- On a device different to the iOS device you’re trying to install onto, open the Reset Moves Dashboard.
- Navigate to a Student page (or create) and click on the Link Device button. This will bring up a QR code.
- Launch RESET MOVES on your device and on the home screen click on COG ICON, to take you to the Settings menu.
- Click on SIGN IN. This will bring up a QR code scanner.
- Scan the QR code on the Dashboard.
- In a few moments, the App will log into your school’s account.
- Make a new ‘Student’ for each device you wish to add and track via the Dashboard.
Got questions? Contact us here. You’ll hear back from us within 24 hours.